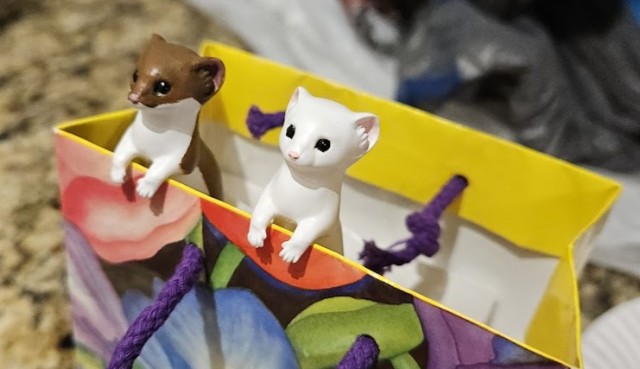
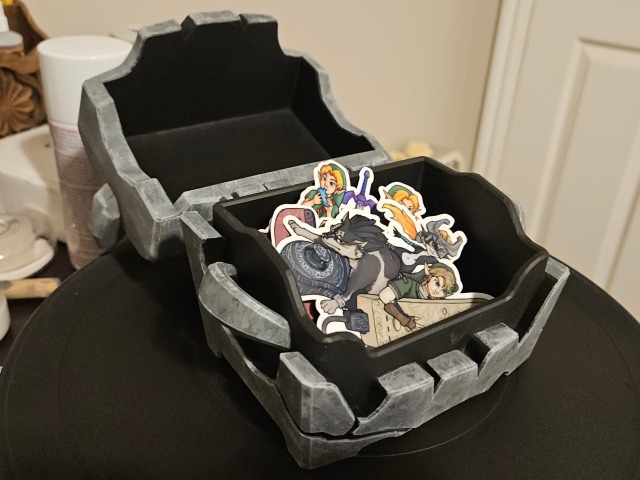
Woo I can post Christmas gift stuff now! I was 3D printing gift containers for family and Sinn idly went “huh, I wonder what my gift box will look like.” This sent my brain into overdrive and I quickly found this really cool model. I haven’t painted too many things before, but turned out way better than I expected.
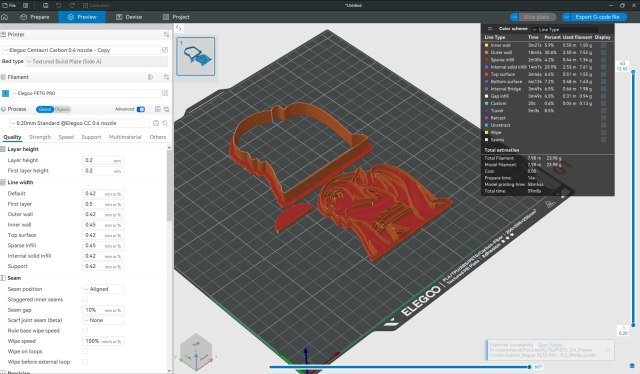
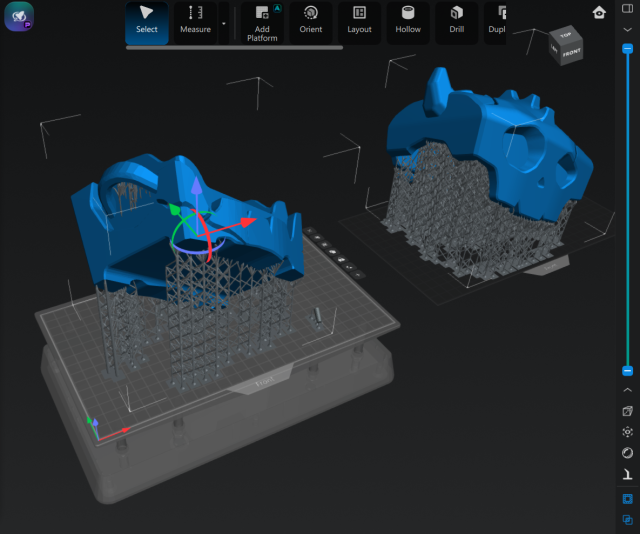
Step 1 was to print it out. Most people were printing this model with filament but I the layer lines were really hard to hide on this design, and I’m picky. Decided to do it in resin. I don’t have photographs but it was pretty straightforward. Pulled off the supports, cured it, then sanded down the bumps where the supports were.
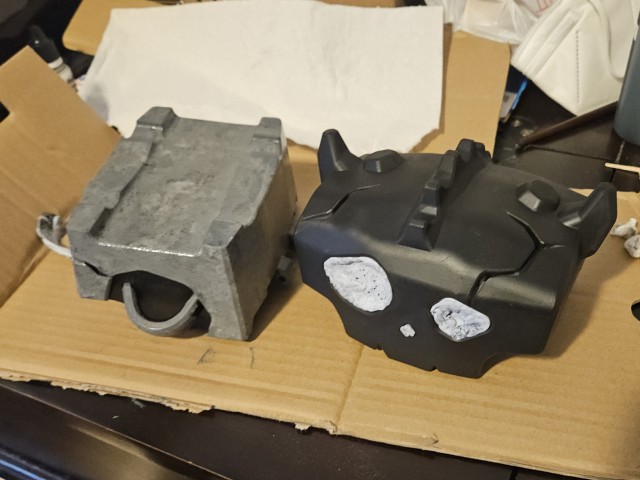
Next I sprayed both halves with black paint primer so the paints would stick. One cool thing about primer: it really highlights all the flaws in a model! So I quickly noticed all the little support bumps that I hadn’t quite sanded enough. RIP. Re-sanded, re-primed, waited around for it to dry again.
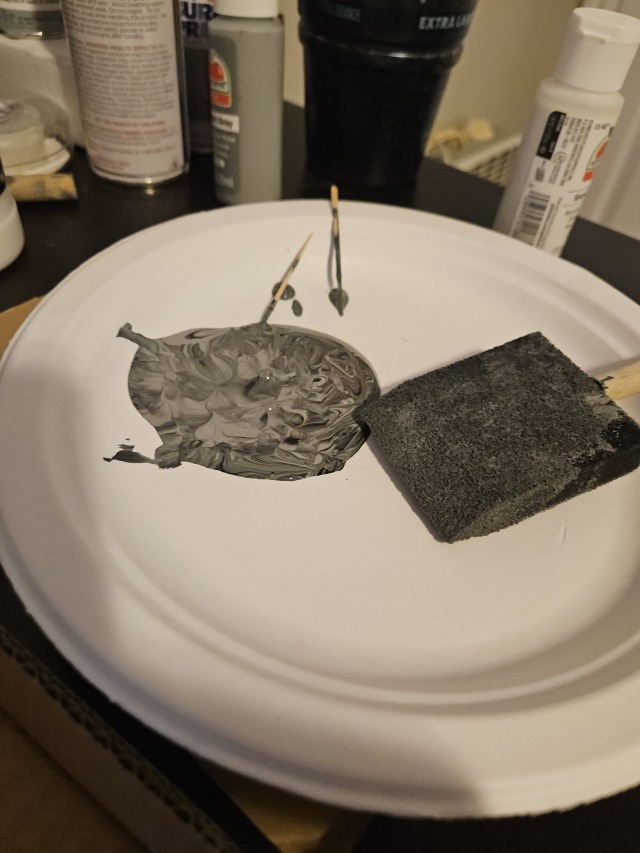
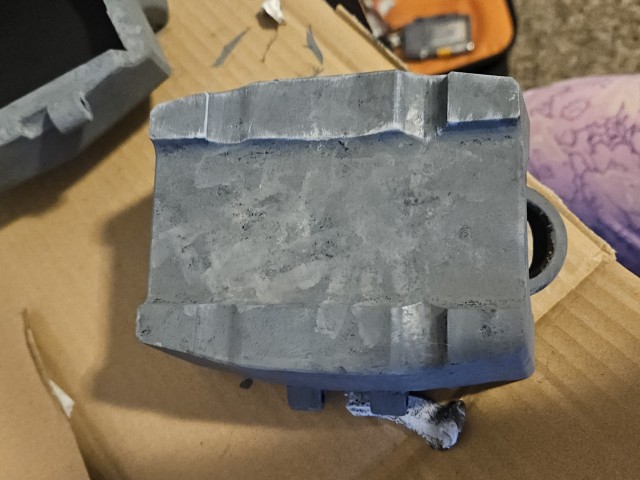
Once the primer looked good, I started with paints. I just used some cheap Apple Barrel stuff from Walmart. I mixed elephant gray with some black and swiped around with a toothpick to mix it together, but I purposefully didn’t mix them completely.
Then I used a sponge to daub on the color, and the un-mixed parts created a very nice mottled stone look. The main challenge here was to not over-daub it because that would even out the color too much. Lots of people recommend doing brown/green washes at this point but I was feeling lazy.
(I also stuck Blu-tack in the eye sockets to protect the primed areas from getting painted.)
Painted the tops, waited for them to dry… painted the bottoms, waited for those to dry… painting things seems to mostly consist of just waiting around for everything to dry.
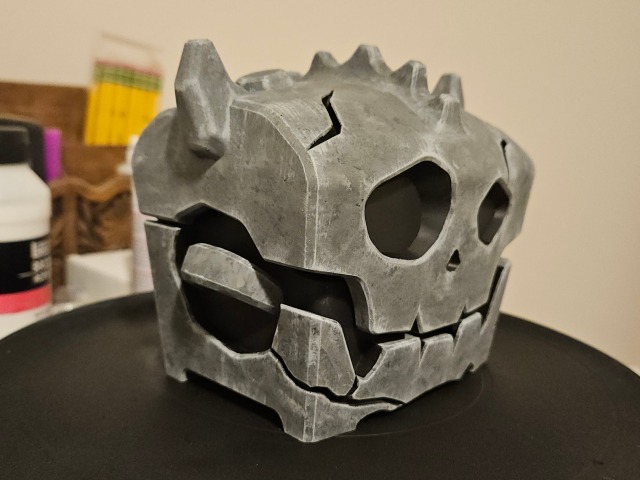
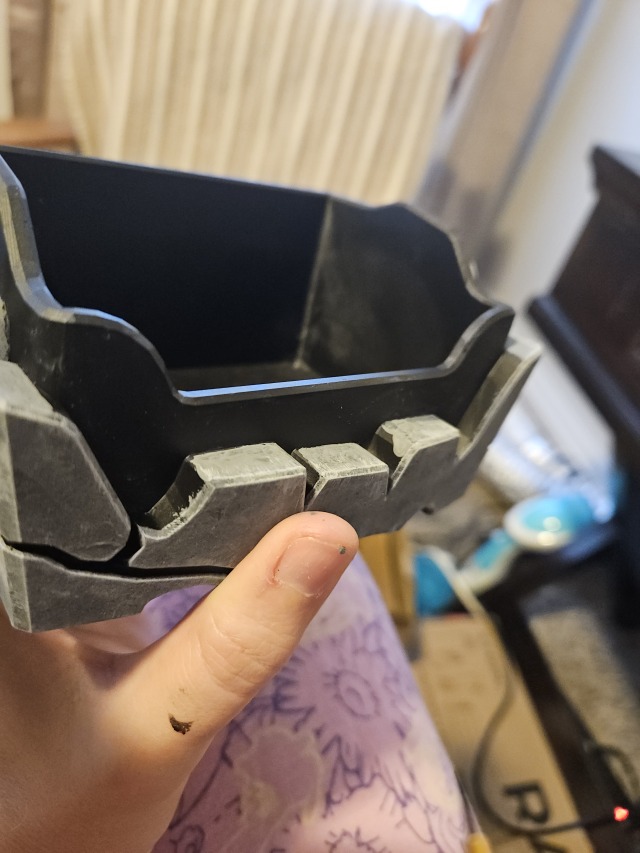
The last step was dry brushing. You guys, dry brushing is SO MUCH FUN. Used more elephant gray, but this time put some white in it. Then found a big stiff-bristled brush, put a tiny amount of paint on, and swiped it around until it was basically dry. Then just started swiping around the edges. The white outlining provides dimension and a “weathered” look. Extremely satisfying to do. This picture shows dry-brushed (top) vs non-dry-brushed (bottom).
Last step was just to clean up some messy spots where the black parts met the stone parts. Even though I used the Blu-tack, the lines weren’t perfect.
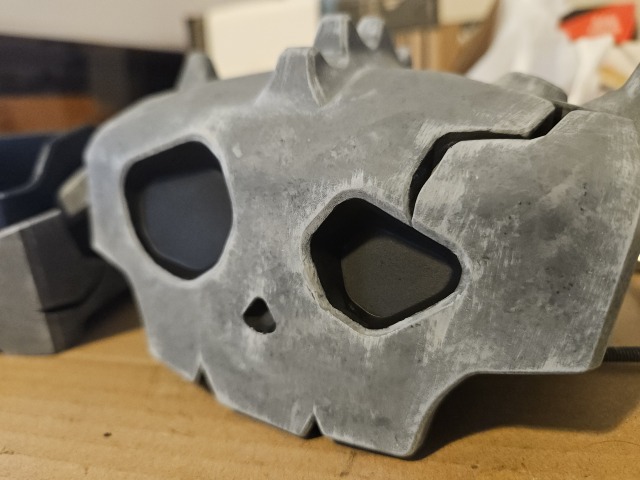
Once everything was cleaned up, I hit the model with some matte sealant and voila!
I think I’ve been spoiled by digital art. I went “oh, this painting job is just 2 steps, aside from the priming and sealing. Easy.” But I was not used to waiting 12 hours between each step. There is no part of digital media that requires a respirator and negative airflow chamber to handle the stinky sprays! Physical media really is a different beast.
Sinn thought it was very cool, so that’s a success in my book.